

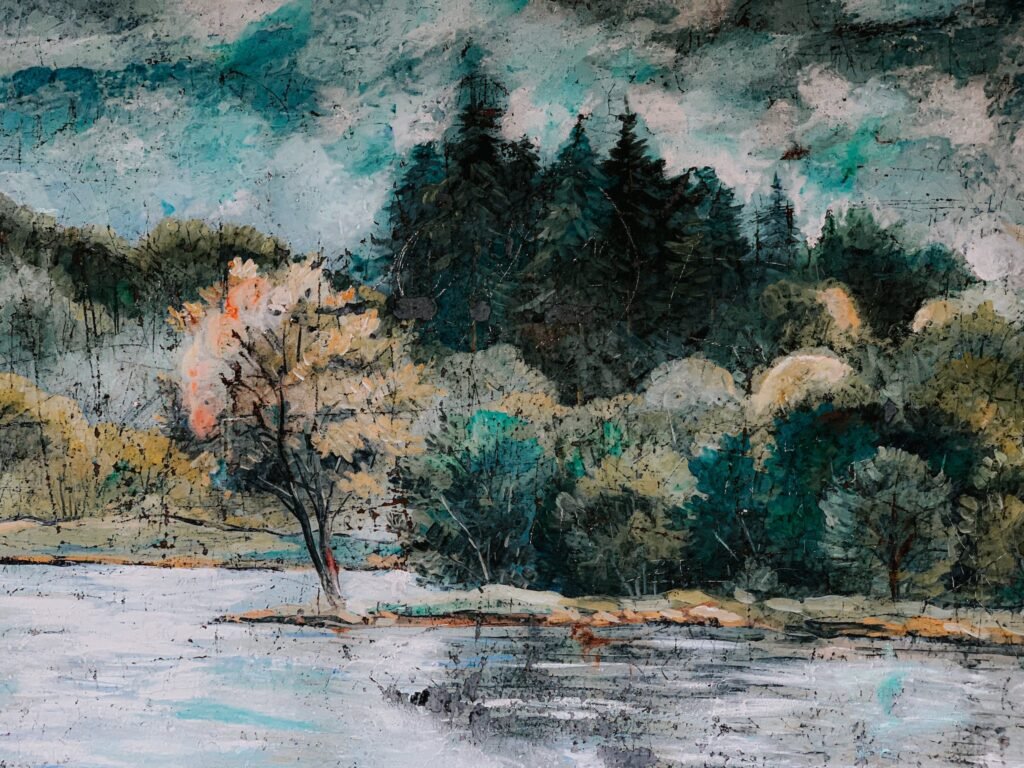
Do you ever look up at the sky and marvel at the ever-changing shapes and colors of the clouds? Have you ever wanted to capture that beauty on your canvas, but weren’t sure how to paint clouds? Look no further! In this guide on how to paint clouds, we’ll go over techniques for painting clouds in three different mediums – watercolor, acrylic, and oil.
Whether you’re a beginner or an experienced painter, this guide will help you bring the sky to your canvas with stunning and realistic clouds. So, let’s get started and unleash our inner artist!
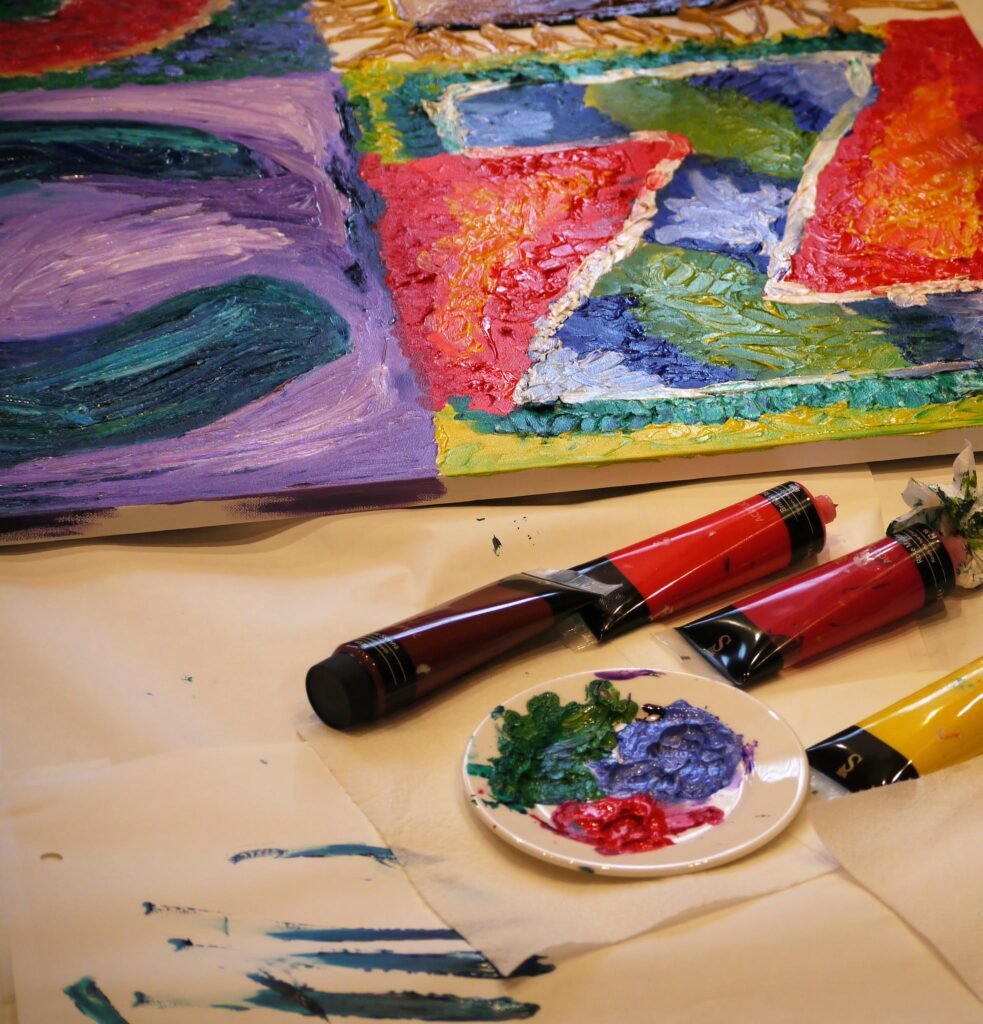
Materials needed to paint clouds
To get started on your own cloud painting tutorial adventure, you’ll need a few essential materials. Here’s a list of what you’ll need to create stunning and realistic clouds on your canvas.
Paint
Depending on your preferred medium, you’ll need watercolors, acrylic paints, or oil paints.
Make sure to have a variety of blues, whites, and grays to capture the different shades of the sky. This will help you paint clouds that enhance their details.


Brushes
For watercolor, opt for a round brush in various sizes.
Acrylic and oil painting will require a flat brush for blending and creating soft and hard edges together. A fan brush can also be handy for creating texture.


Palette
You’ll need a palette or a mixing surface to blend your colors.
A disposable palette or a glass palette is ideal for easy cleaning.


Water
If you’re using watercolors or acrylic paints, keep a jar of water handy for cleaning your brushes and thinning the paints.
Canvas or paper
Choose a suitable surface to paint on, such as watercolor paper, canvas board, or stretched canvas.
Paper towels or rags
These will come in handy for blotting excess paint or cleaning brushes.
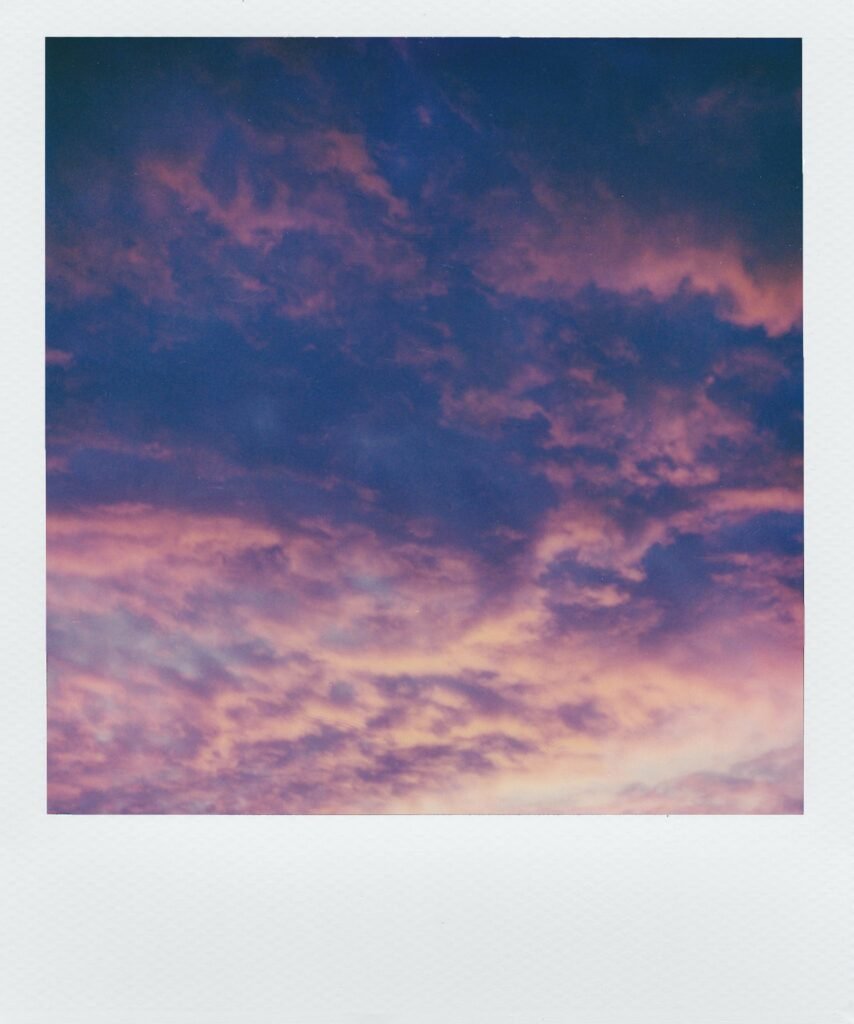
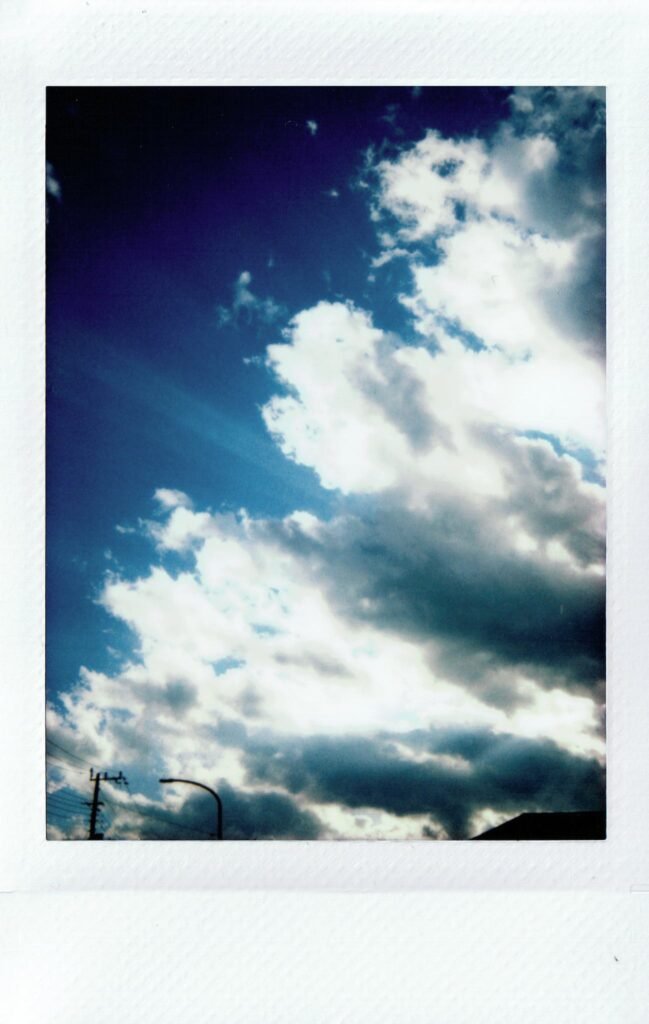
Reference photos or images
To get a better understanding of cloud shapes and colors, it’s helpful to have reference photos or images of different cloud formations.
Watercolor Painting Techniques for Cloud Painting
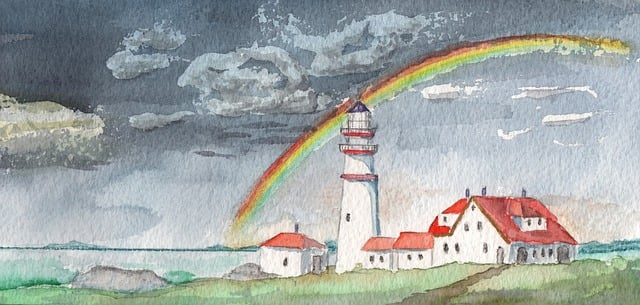
Watercolor painting is a versatile and beautiful medium to capture the ethereal nature of clouds. With a few techniques, you can bring the beauty of the sky to your art.
To begin, start with a blue sky wash as your background. Use a mix of cerulean blue and dark ultramarine blue to create a vibrant and realistic sky. Leave some areas unpainted to create the illusion of fluffy clouds.
Next, take a clean, damp brush and gently lift some of the paint off the paper in circular motions to create the soft edges of the clouds. This technique will give your cloud shape a sense of depth, shadow and dimension.
For puffy clouds, use a dry brush technique. Load your brush with a mix of white and gray paint and lightly dab it onto the paper, leaving gaps for the sky to show through.
Blend the edges of the clouds with a damp brush to create a smooth transition between the edge of the cloud and the sky.
To add a bit more realism, observe the direction of the light source in your reference photo or image. Use a lighter shade of blue or brighter white to highlight the side of the cloud that is facing the light.
Experiment with different brush strokes and layering techniques to create texture and depth in your watercolor clouds.
Remember to have fun and let your creativity soar as you bring the beauty of the sky to your canvas!
Acrylic Painting Techniques for Clouds
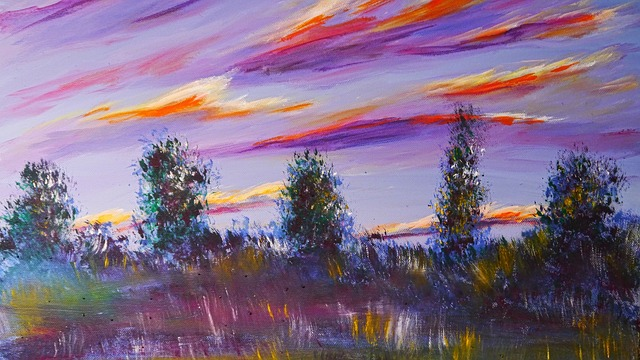
Acrylic paint offers a wide range of techniques to capture the beauty and majesty of clouds on your canvas. With their quick-drying and versatile nature, acrylic paints are perfect for creating realistic and textured clouds.
Here are a few techniques to help you get started:
First, start by mixing various shades of blues and grays on your palette. Acrylic paint dries darker, so keep this in mind as you mix your colors.
Use a flat brush to create the base layer of your clouds. Apply the paint in sweeping, curved strokes to mimic the softness and movement of clouds.
To add depth and dimension to your clouds, use the dry brushing technique. Load a small amount of white paint onto a dry brush and gently drag it across the canvas. This will create highlights and add texture to your clouds.
Experiment with different brush sizes and pressures to achieve different cloud shapes and densities.
For a more layered and realistic look, try glazing. Apply a thin layer of translucent paint over a dry layer of clouds to create subtle variations in color and tone. This technique will help you achieve a more realistic and three-dimensional effect.
Oil Painting Techniques for Clouds
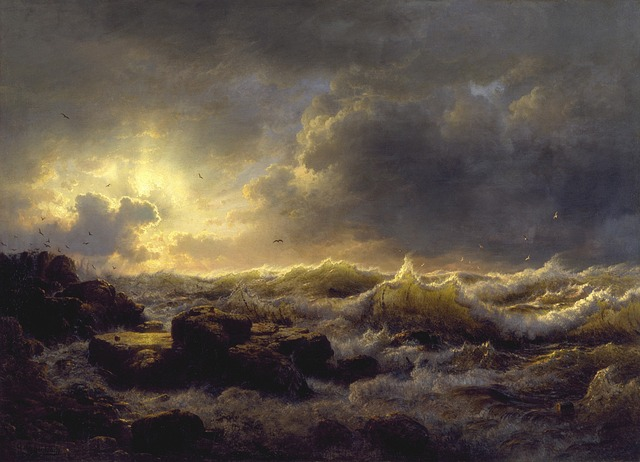
Oil painting is a beautiful and traditional medium that can capture the essence and majesty of clouds on your canvas. With its slow drying time and blendable nature, oil paints offer a unique and rich texture to your cloud paintings.
Here are a few techniques to help you bring the sky to life in oil:
Start by mixing various shades of blues, grays, and whites on your palette.
Use a brush with soft bristles to create the base layer of your clouds. Apply the paint in sweeping, circular motions to mimic the soft and billowing shapes of clouds.
Remember to blend and feather the edges for a seamless transition between the clouds and the sky.
To add depth and dimension to your clouds, use the impasto technique. Load your brush with a thick amount of paint and apply it in textured strokes to create a three-dimensional effect. This technique will give your clouds a sculptural and realistic appearance.
Experiment with different brush sizes and pressures to achieve different cloud shapes and densities.
Use a fan brush or a palette knife to create texture and highlights in your clouds.
Frequently Asked Questions about How to Paint Clouds
1. How do I create realistic cloud shapes?
To create realistic cloud shapes, it’s important to observe the different forms that clouds can take in nature.
Study reference photos or images to get a better understanding of the variety of cloud shapes.
Experiment with different brush strokes and techniques to mimic the softness and movement of clouds.
Remember that clouds are rarely perfectly symmetrical, so embrace imperfections in your paintings to add realism.
2. How do I create a sense of depth in my cloud paintings?
To create a sense of depth in your cloud paintings, pay attention to the shading and highlighting.
Study the direction of the light source in your reference photo or image and use lighter shades of blue or white to highlight the side of the clouds that are facing the light. This will give your clouds a three-dimensional appearance.
Additionally, using techniques such as dry brushing or glazing can add depth and texture to your clouds.
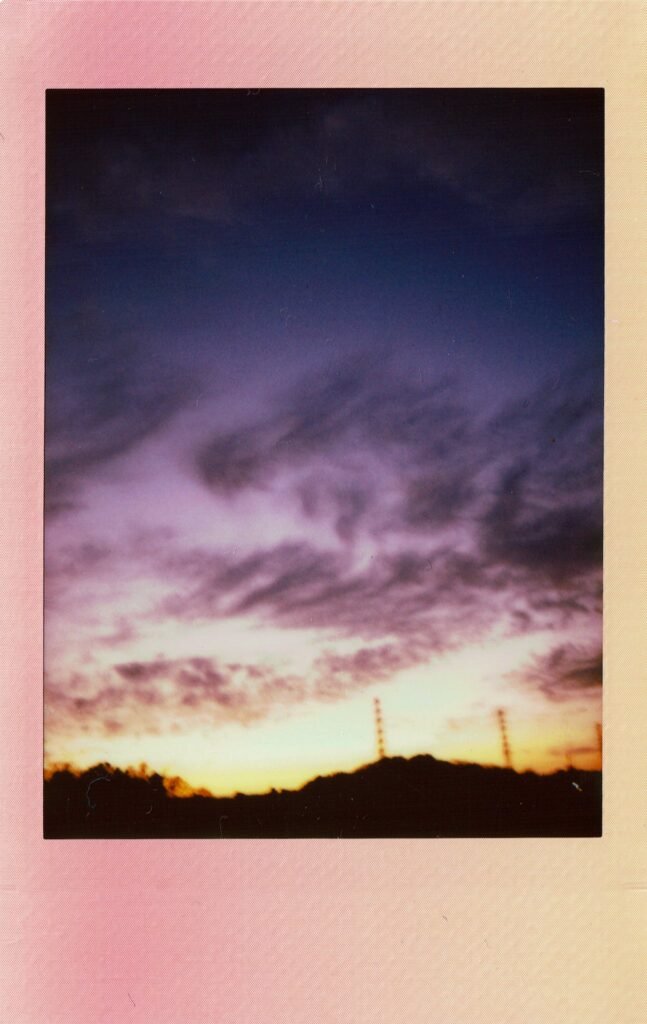
3. How do I capture the colors of the sky in my cloud paintings?
To capture the colors of the sky in your cloud paintings, it’s important to observe the ever-changing shades of blue, gray, and white.
Mix different shades of these colors on your palette and experiment with layering and blending techniques.
Pay attention to the lighting conditions and time of day in your reference photo or image to accurately portray the colors of the sky.
4. How do I create a realistic sense of atmosphere in my cloud paintings?
To create a realistic sense of atmosphere in your cloud paintings, consider the concept of aerial perspective.
This means that objects in the distance appear less detailed, lighter in color, and cooler in tone. Apply this concept to your cloud paintings by using softer edges and lighter colors for clouds that are farther away.
This will create a sense of depth and atmospheric perspective.
Summary and Final Tips
In this ultimate guide on how to paint clouds, we explored various techniques for capturing the beauty of the sky on your canvas.
Whether you prefer watercolor, acrylic, or oil painting, we’ve got you covered with step-by-step instructions, tutorials, and helpful tips.
In summary, when painting clouds, it’s important to start with a good understanding of cloud shapes and colors.
Use reference photos or images to study the different forms that clouds can take.
Experiment with different brush strokes and techniques to create realistic and textured clouds.
Pay attention to shading and highlighting to add depth and dimension to your cloud paintings.
Consider the concept of aerial perspective to create a realistic sense of atmosphere.
And don’t forget to have fun and let your creativity soar as you bring the beauty of the sky to your canvas.
Remember, practice makes perfect, so don’t be discouraged if your first attempts don’t turn out exactly as you envisioned as you start to paint clouds.
Keep experimenting and exploring different techniques, and soon you’ll be able to create stunning and realistic clouds that truly bring the sky to life.
Now it’s time to pick up your brushes, gather your materials, and let your inner artist shine! Happy painting!

Tips on How to Use Watercolor Pencils Effectively: Creating Beautiful Artwork
Watercolor pencils are a versatile and convenient medium for creating beautiful artwork. If you’re new to using them, it can be a bit intimidating at …
Tips on How to Use Watercolor Pencils Effectively: Creating Beautiful Artwork Read More »

The Best Watercolor Painting Ideas for Relaxation and Stress Relief
Are you looking for a creative outlet to help you relax and relieve stress? Look no further than these easy watercolor painting ideas! This versatile …
The Best Watercolor Painting Ideas for Relaxation and Stress Relief Read More »

Mind-blowing Canvas Painting Ideas – Unleash your Creativity
Are you looking for some inspiration for your next easy canvas painting project? Look no further! In this blog post, we’ll be sharing some mind-blowing …
Mind-blowing Canvas Painting Ideas – Unleash your Creativity Read More »

Learn How to Paint Clouds with Ease -7 Techniques for Painting Clouds like a Pro
Are you curious about how to paint clouds? Do you want to learn how to create realistic and stunning cloudscapes? Whether you’re a beginner or …
Learn How to Paint Clouds with Ease -7 Techniques for Painting Clouds like a Pro Read More »


Pingback: Learn How to Paint Clouds with Ease -7 Techniques for Painting Clouds like a Pro